
Achieving a perfectly smooth drywall surface is essential for a professional-looking paint job or wallpaper application. While traditional dry sanding can be effective, many professionals and DIY enthusiasts are turning to wet sanding drywall as a superior method to reduce dust and create a smoother finish.
What Is Wet Sanding Drywall?
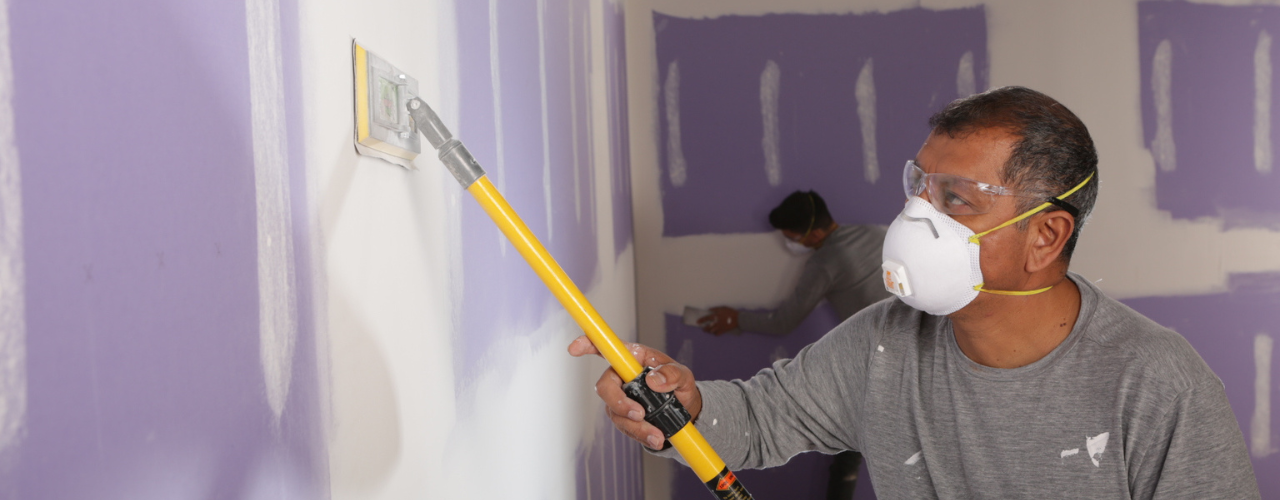
Wet sanding drywall involves using a damp sponge or sanding pad to smooth out joint compound after it has dried. Unlike dry sanding, which uses a sanding block or pole sander and creates a significant amount of dust, wet sanding keeps the dust minimal and produces an even, flawless surface. This technique is especially beneficial for finishing drywall seams, taping, and patching work.
Advantages of Wet Sanding Drywall
Many drywall contractors prefer wet sanding because of its numerous benefits:
- Reduced Dust: Wet sanding generates minimal airborne particles, making cleanup easier and safer for your respiratory health.
- Smoother Finish: The damp surface helps to fill minor imperfections and results in a more polished appearance.
- Less Surface Damage: Using water softens the joint compound, reducing the risk of scratches or gouges that can occur during dry sanding.
- Improved Adhesion: Wet sanding can help in creating a better bonding surface before applying paint or wallpaper.
How to Wet Sand Drywall Properly
To achieve the best results, follow these steps for wet sanding drywall:
Materials Needed:
- Two sponge sanding pads (damp and dry)
- Bucket of clean water
- Drop cloths or plastic sheeting to protect floors and furniture
- Dust mask (optional but recommended)
Step-by-Step Process:
- Prepare the Area: Cover floors and furniture with drop cloths to protect from splashes. Ensure the drywall surface is dry before starting.
- Dampen the Sponge: Submerge the sanding sponge in clean water, then wring out excess water so it’s damp but not dripping.
- Smoothing the Surface: Gently sand the joint compound using circular motions. Do not apply excessive pressure to avoid damaging the drywall.
- Rinse and Repeat: Frequently rinse the sponge to keep it clean and dampen it again as needed. Continue until the surface feels smooth and free of imperfections.
- Finish Up: Wipe the drywall with a clean, damp cloth to remove any residual dust or water stains. Let it dry completely before painting or finishing.
Tips for Successful Wet Sanding Drywall
- Use a soft, damp sponge to prevent gouging the surface.
- Keep the sponge moist but not soaked to avoid over-wetting the drywall.
- Practice on a small area first to get comfortable with the technique.
- Ensure proper ventilation during the process to dry the drywall quickly.
- Wear a dust mask or respirator if sensitive to any residual dust particles.
Is Wet Sanding Drywall Right for Your Project?
Deciding whether to wet sand drywall depends on your specific project needs. If you’re aiming for a ultra-smooth surface with minimal dust and cleanup, this method is highly recommended. However, it may be more time-consuming and requires careful attention to dampness levels.
For more detailed guidance and expert tips on wet sanding drywall, visit this comprehensive resource. Additionally, you can explore other drywall finishing techniques on the homepage of Magazetty to find the best approach for your home improvement projects.
Conclusion
Wet sanding drywall is a valuable technique that can elevate the quality of your wall finishes while significantly reducing dust. With the right tools and careful execution, you can achieve a smooth, professional-looking surface suitable for any paint or wallpaper application. So, next time you’re working on drywall finishing, consider giving wet sanding a try for superior results and a cleaner workspace.