
Replacing a worn or dated bathroom faucet can instantly update your sink and improve water efficiency. Whether you’re switching to a modern single-handle model or restoring a classic two-handle setup, the process is approachable for many DIY enthusiasts. For a detailed walkthrough with visuals, you can follow How change bathroom faucet.
Why replace a bathroom faucet?
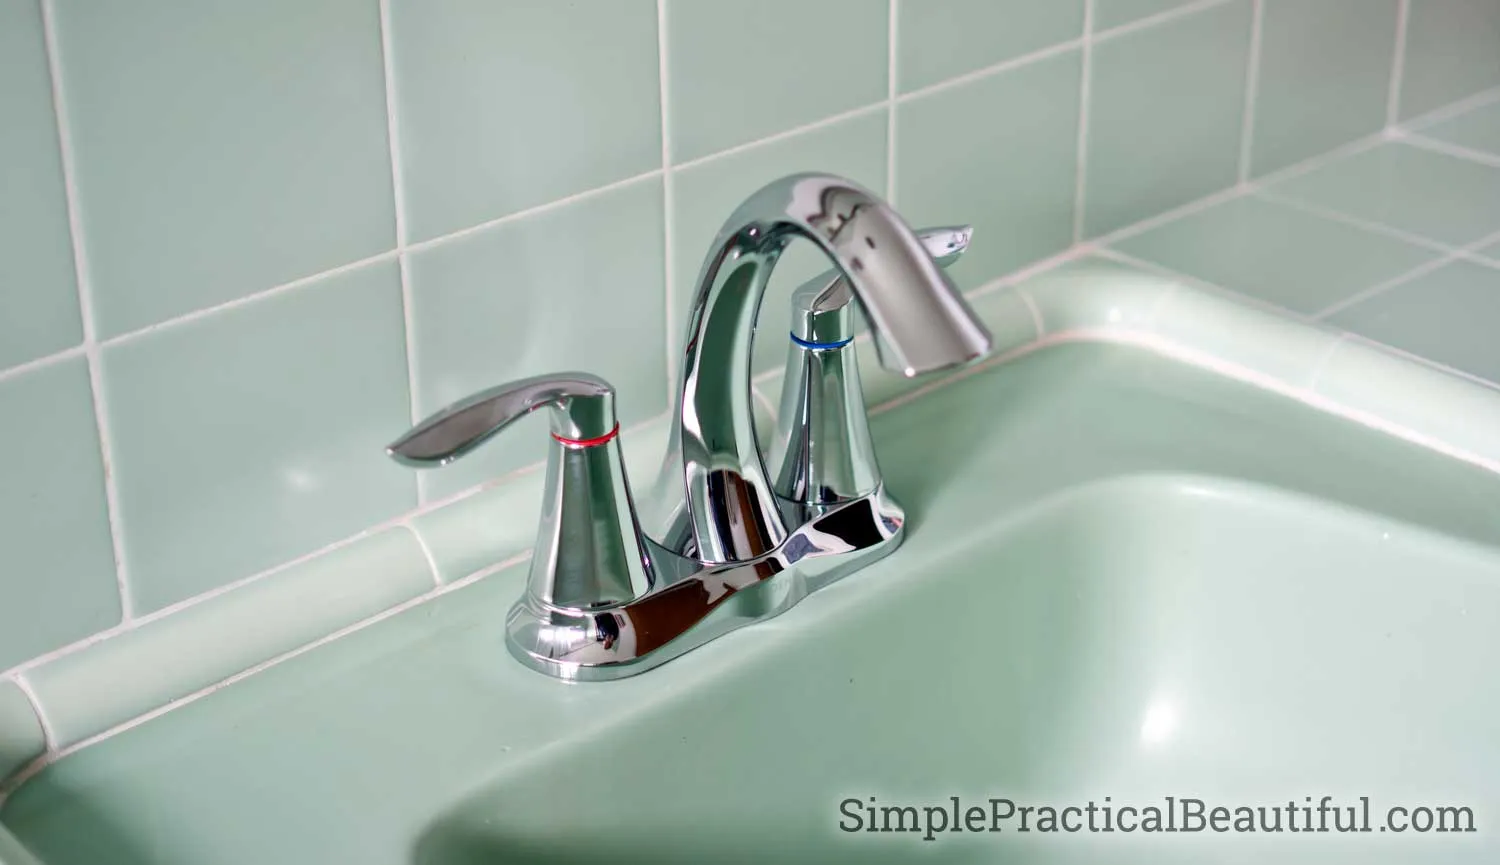
Faucets wear out over time due to mineral buildup, leaks, or loose handles. A new faucet can reduce dripping, control water flow more predictably, and enhance the overall look of your vanity. Upgrading can also help you switch to modern cartridge designs that are easier to repair in the future. If you’re preparing for a bathroom refresh, replacing the faucet is a cost-effective upgrade that pays off in both function and style.
What you’ll need
- New faucet (copper, stainless, or ceramic cartridges depending on your preference)
- Adjustable wrench and basin wrench
- Plumber’s tape (Teflon)
- Plumber’s putty or silicone caulk
- Bucket, old towels, and a flashlight
- Replacement supply lines if the old ones are corroded
Tools and prompts for a smooth install
Before you start, inspect the sink area. Most homes use standard 3/8-inch compression fittings or flexible braided lines. If you’re unsure about hole spacing, measure the distance between the centers of the two mounting holes (or the single center point for a single-hole faucet). Having the right tools on hand minimizes trips to the hardware store and reduces the risk of leaks after installation.
Step-by-step: how to change a bathroom faucet
- Shut off the water supply. Locate the shut-off valves under the sink. Turn them clockwise until snug, then open the faucet to relieve pressure.
- Disconnect supply lines. Place a bucket beneath the connections. Use an adjustable wrench to loosen the fittings and detach the hot and cold lines from the faucet and supply valves.
- Remove the old faucet. From beneath the sink, loosen the mounting nuts with a basin wrench. If the nuts are stubborn, spray a penetrating lubricant and wait a few minutes.
- Prepare the mounting surface. Clean the sink deck and wipe away any old putty or residue. If needed, apply a thin bead of silicone caulk around the underside of the new faucet base for a tighter seal.
- Install the new faucet. Insert the faucet through the mounting holes, secure it with the mounting hardware from underneath, and tighten evenly. Attach the new supply lines to the faucet first, then to the shut-off valves.
- Reconnect and test. Reconnect hot and cold lines, turn on the water supply, and check for leaks at every connection. Open the faucet to flush out any debris and ensure smooth operation.
- Seal and finish. If there’s any gap between the faucet base and the sink, apply a light line of silicone caulk and wipe away excess once cured.
Tips for a leak-free finish
Use plumber’s tape on threaded connections to prevent leaks, but avoid over-tightening the fittings, which can damage threads. If you’re replacing with a different height faucet, verify the clearance under the sink to avoid hitting the vanity drawer or plumbing beneath. Keep a small mirror handy to check for any misaligned seals around the base.
For more home improvement guidance, visit the HausFixr homepage, where you’ll find additional tutorials and product recommendations to help with future projects.